
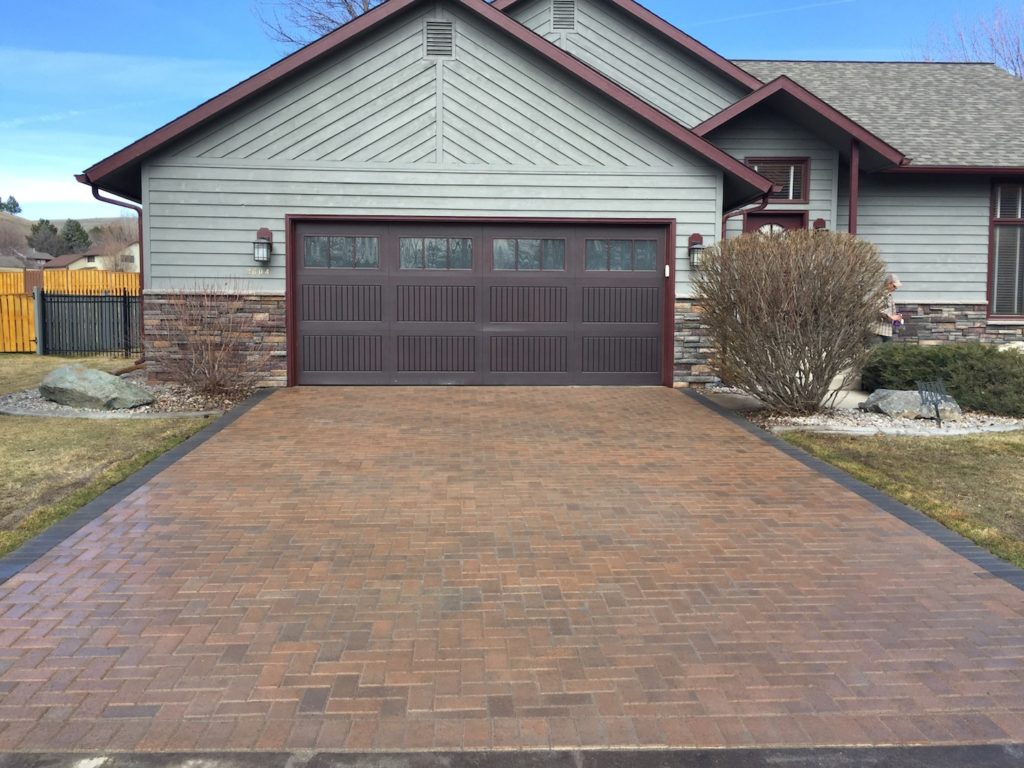
They say first impressions are everything. What’s the first thing most people see when arriving at your home? Your driveway, of course! Driveways come in all shapes, sizes, and materials, but my favorite is of course a driveway built from paver stones. Nothing is quite as classy, durable, or as beautiful. We’ve already discussed the merits of paver stones versus another material such as concrete, but in this post, I’m going to show you exactly how we build with pavers.
The anatomy of a paver stone driveway.
Step one: start digging! Pavers are set on compacted base materials and bedding sand. Depending on what the soil conditions of your particular site are, you’ll need to remove at least 12″ of soil. You also may have an existing driveway that also needs to be removed. The goal here is to get rid of all organic matter, all topsoil, and anything else that may cause compaction problems. This is the key to prevent settling.
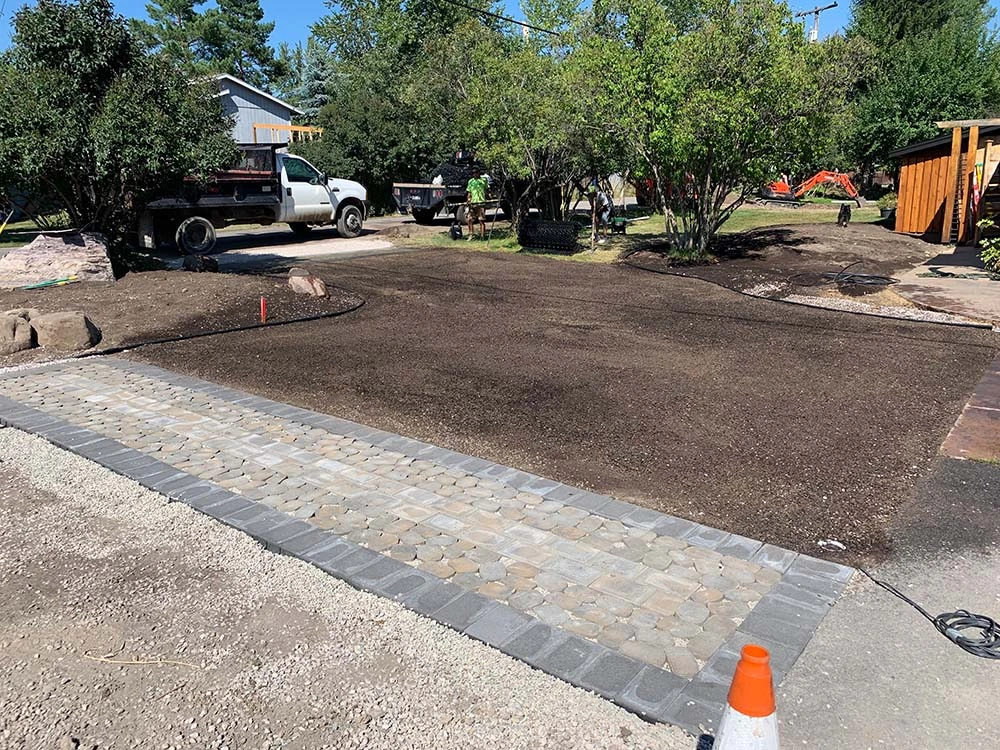
Step two: Prepare your base. 80% of your time will be spent on this critical step. Not only does your paver base need to be WELL compacted (driving on it should leave no depressions when you’re finished compacting), it needs to be perfectly flat and sloped properly for drainage. Set your driveway at a minimum 1% slope, or 1 inch over 100 inches toward the street if possible. If it must slope back towards the house, add a trench drain to carry water to a drywell underground. The surface of the base will be reflected on the surface of the pavers, so taking the extra time to make sure your base is completely flat is a good way to ensure your pavers will remain completely flat and flush with each other for the long term.
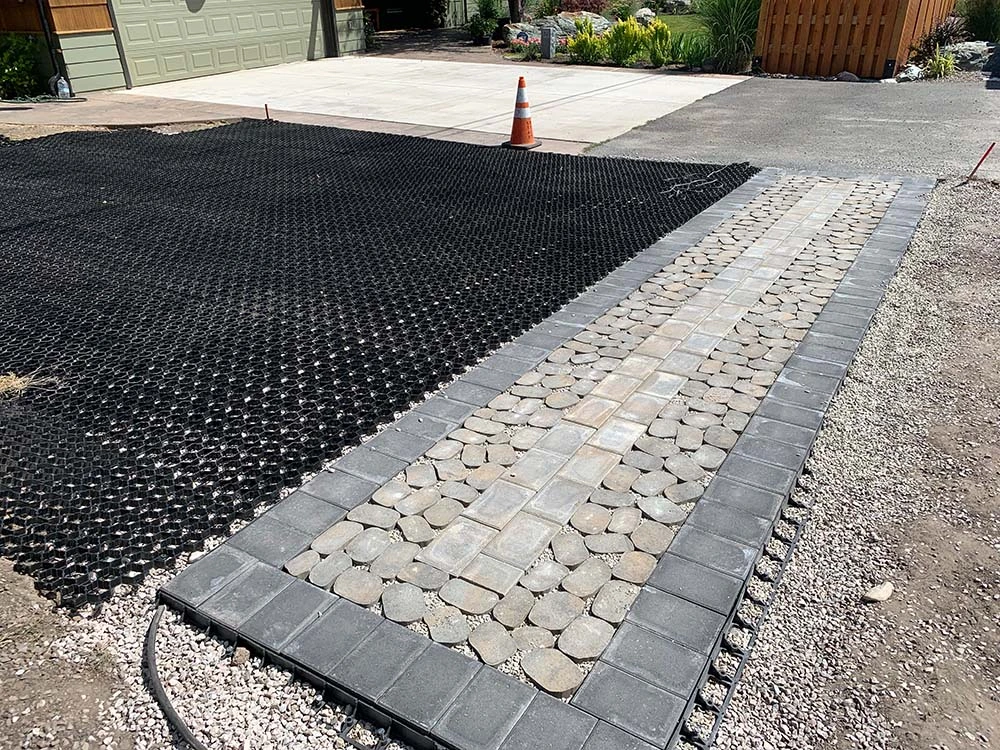
Step three: Install your edging. This is a border that will contain your paver stones. Make it any shape you’d like.
Step four: Screed your bedding sand. We use steel poles and 2x4s for this step, but all you need are two objects the same size in diameter or thickness, such as 2×2 lumber, electrical conduit, etc. that you can pull a board across the top of. They should between 1″ – 2″. Lay them on the base you prepared in step two, and cover the area with sand. Pull a board across the top of them to level your sand, then remove them. You can fill in the troughs left by your screed poles as you begin laying your paver driveway using more sand and a trowel.
Step five: Lay your paver driveway! Generally, it’s best to begin along a straight edge, and a square corner if possible. I’ll usually start in a corner and lay the border in two directions first, then begin filling in the field . Taking a little time to get the pavers in square will save you headaches down the road, so pay close attention to this step. If you don’t start square, you’ll know fairly soon as you’ll begin getting gaps between the stones, your edges won’t quite line up, and you’ll generally be pretty grumpy the whole time you are laying your pavers. Chances are, you’ll have to cut some of your bricks to finish this step – I use a masonry saw, but any rental shop will usually have a heavy duty tile saw that will cut paver stones.

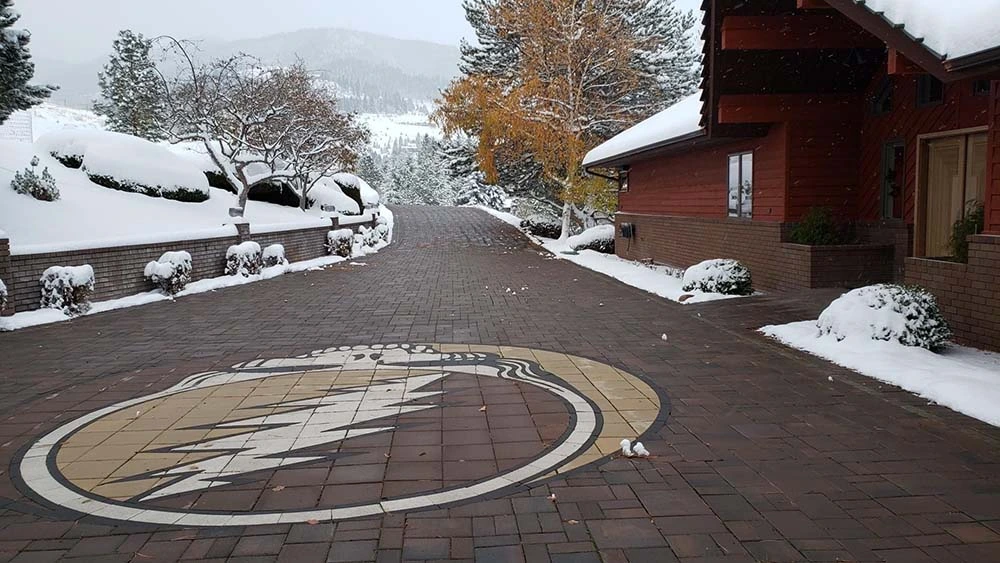
Step six: Sweep in joint sand. Joint sand is a specially manufactured sand designed for interlocking concrete paver stones. It’s kiln dried, and a specific grain size to go between the paver stones and ‘lock’ them together. You can use any normal sand, but it may not work as well. I strongly suggest buying the specialty sand. Sweep it into the joints. Sweeping in a direction diagonal to the joints and running bond tends to work the best. When you’ve filled in the gaps between the stones, fire up your plate compactor and make a single pass over the entire surface the vibrate the paver stones into place. Now clean up, because you’re finished!